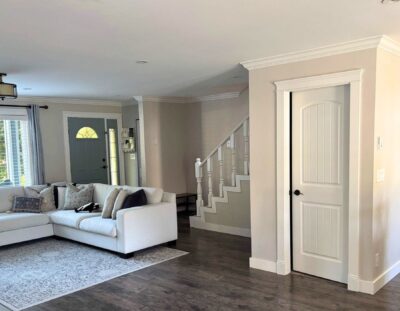
How to paint interior trim
The trim in our homes undergoes significant wear and tear, but can often be overlooked when it comes to interior painting. Because it is so close to the floor, trim is often subject to scuffs, dents, and dings. Trim can also become dirty and dusty over time, and the paint may become stained. Painting the trim in your home is a great way to freshen up your space without painting the walls in their entirety! Here’s how to get professional results on your interior trim painting project.
Ask our professional Vancouver painters about interior painting!
Gathering all your painting supplies will save you time later
The last thing you want to do while painting trim, is make another trip to the hardware store! Here are the supplies you will need to paint your trim:
-
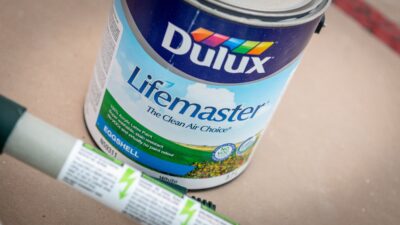
Paint (make sure you have enough!)
-
Primer
-
Painter’s tape
-
Brushes
-
Wood filler
-
Sandpaper and a sanding block
Cleaning is key to interior trim painting
Before you begin painting, make sure to properly and thoroughly clean the trim. While this is essential to any interior painting project, it is especially important with trim and baseboards. The easiest way to clean trim is by using warm, soapy water and a sponge or rag. However, if you haven’t painted your trim in a long time, the baseboards are old, or they were previously painted using an oil-based paint, there is a good chance the trim could use a little extra TLC. Using a degreaser or more powerful cleaning agent before painting will help to ensure that the wooden elements are properly prepared to be painted.
Prepare the trim and surrounding surfaces for painting
The next step for painting interior trim is masking the floors and walls around the trim. Make sure to use painters tape on the floor near any trim that you will be painting. You can also use painters tape to confidently paint a straight line where the trim meets the wall.
Then, lightly sand the trim. This will help the paint stick better and prevent the wood from absorbing too much of it, which could lead to peeling paint and chipping. Using a sanding block can help make this part of the job easier! Once you have finished sanding, make sure to dust the area or use a vacuum to remove any sawdust that could cause an uneven paint job.
TIP: For perfect results, shine a bright light near the trim to illuminate any chips, scuffs, or imperfections. Circle the imperfections and then correct them by filling and sanding them.
Always paint the trim before painting walls and ceilings
If you are painting walls or ceilings at the same time as the trim, start with the trim first. It is easier to tape a straight line along the trim, and if any of the trim paint makes its way onto the walls, you can just paint over it later!
Finish by priming and painting
Use primer on any areas where the wood is bare, or if you are planning on changing the colour of the trim. Allow the primer to dry before applying two coats of high-quality paint.
TIP: Work in 2-3 foot sections for more even results!
The right kind of paint can make all the difference
For a long-lasting paint job, it’s best not to cut corners when it comes to paint selection. Look for a stain and mildew resistant paint that is specifically made for painting trim for best results. Our professional painters recommend semi-gloss or high-gloss paint for easier cleaning. While these sheens do not hide mistakes as well as lower gloss paints, they are much easier to maintain.
Do you have questions about painting your trim? Just get in touch with Even Better Painting!