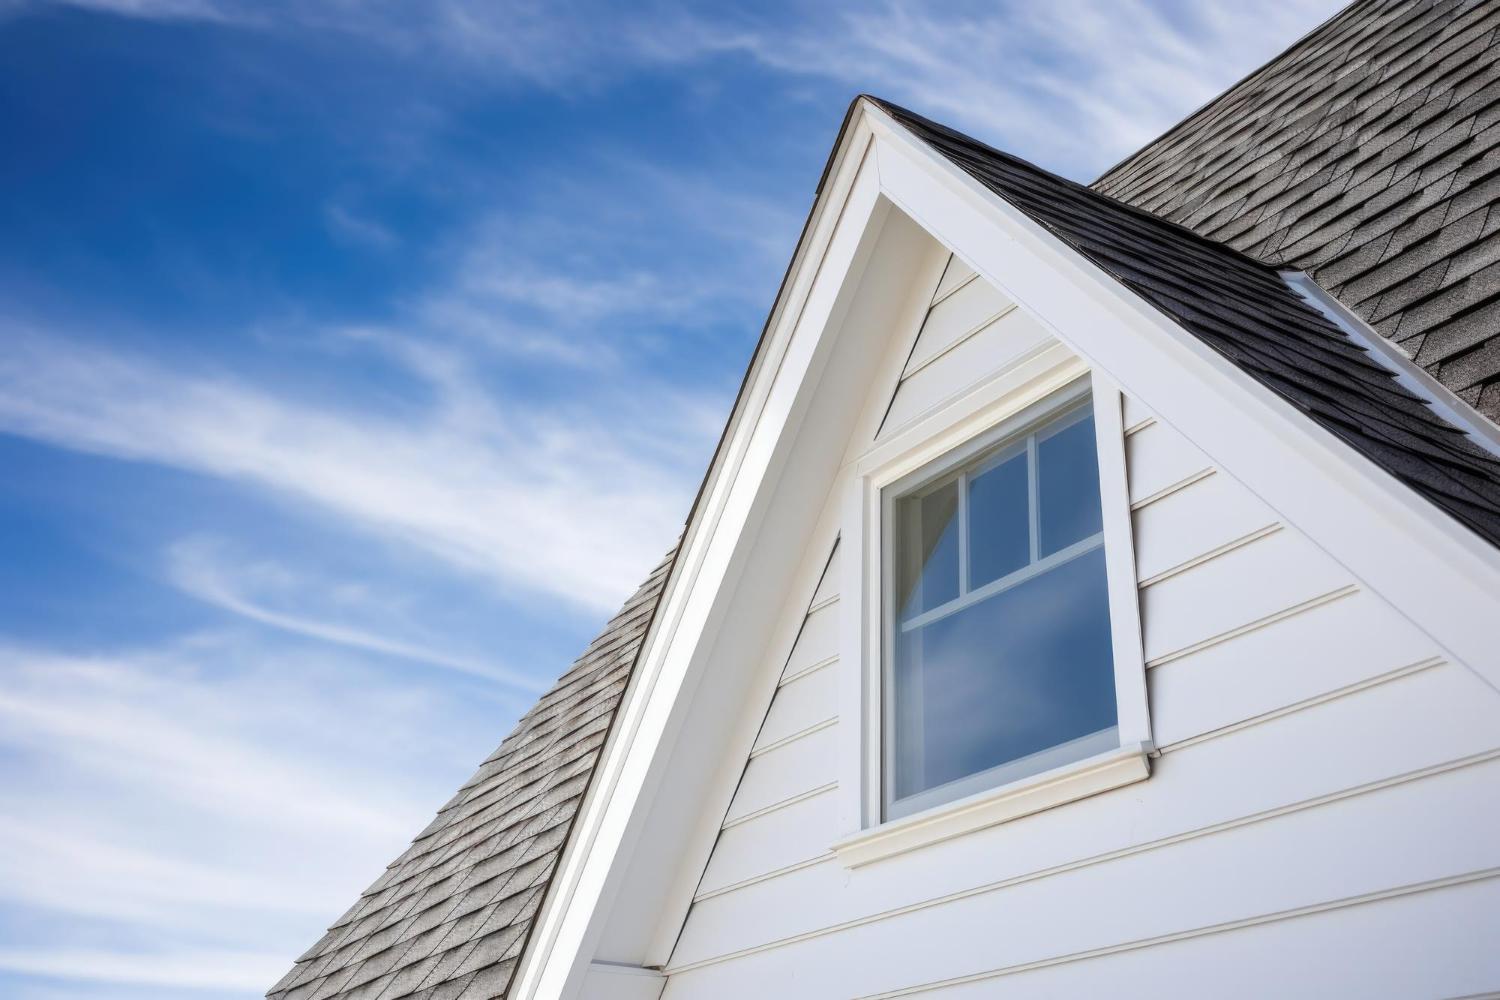
Factors That Impact Exterior Trim Painting Intervals
The lifespan of exterior trim paint in Vancouver, honestly, is a bit of a moving target – there are just so many variables at play, from how well things were prepped in the first place to the city’s famously unpredictable weather. Homeowners trying to figure out when to repaint really need to pay attention to these details if they want to avoid surprise costs and keep their homes looking sharp, though sometimes it feels like you’re just chasing the rain.
Surface Preparation and Quality Standards
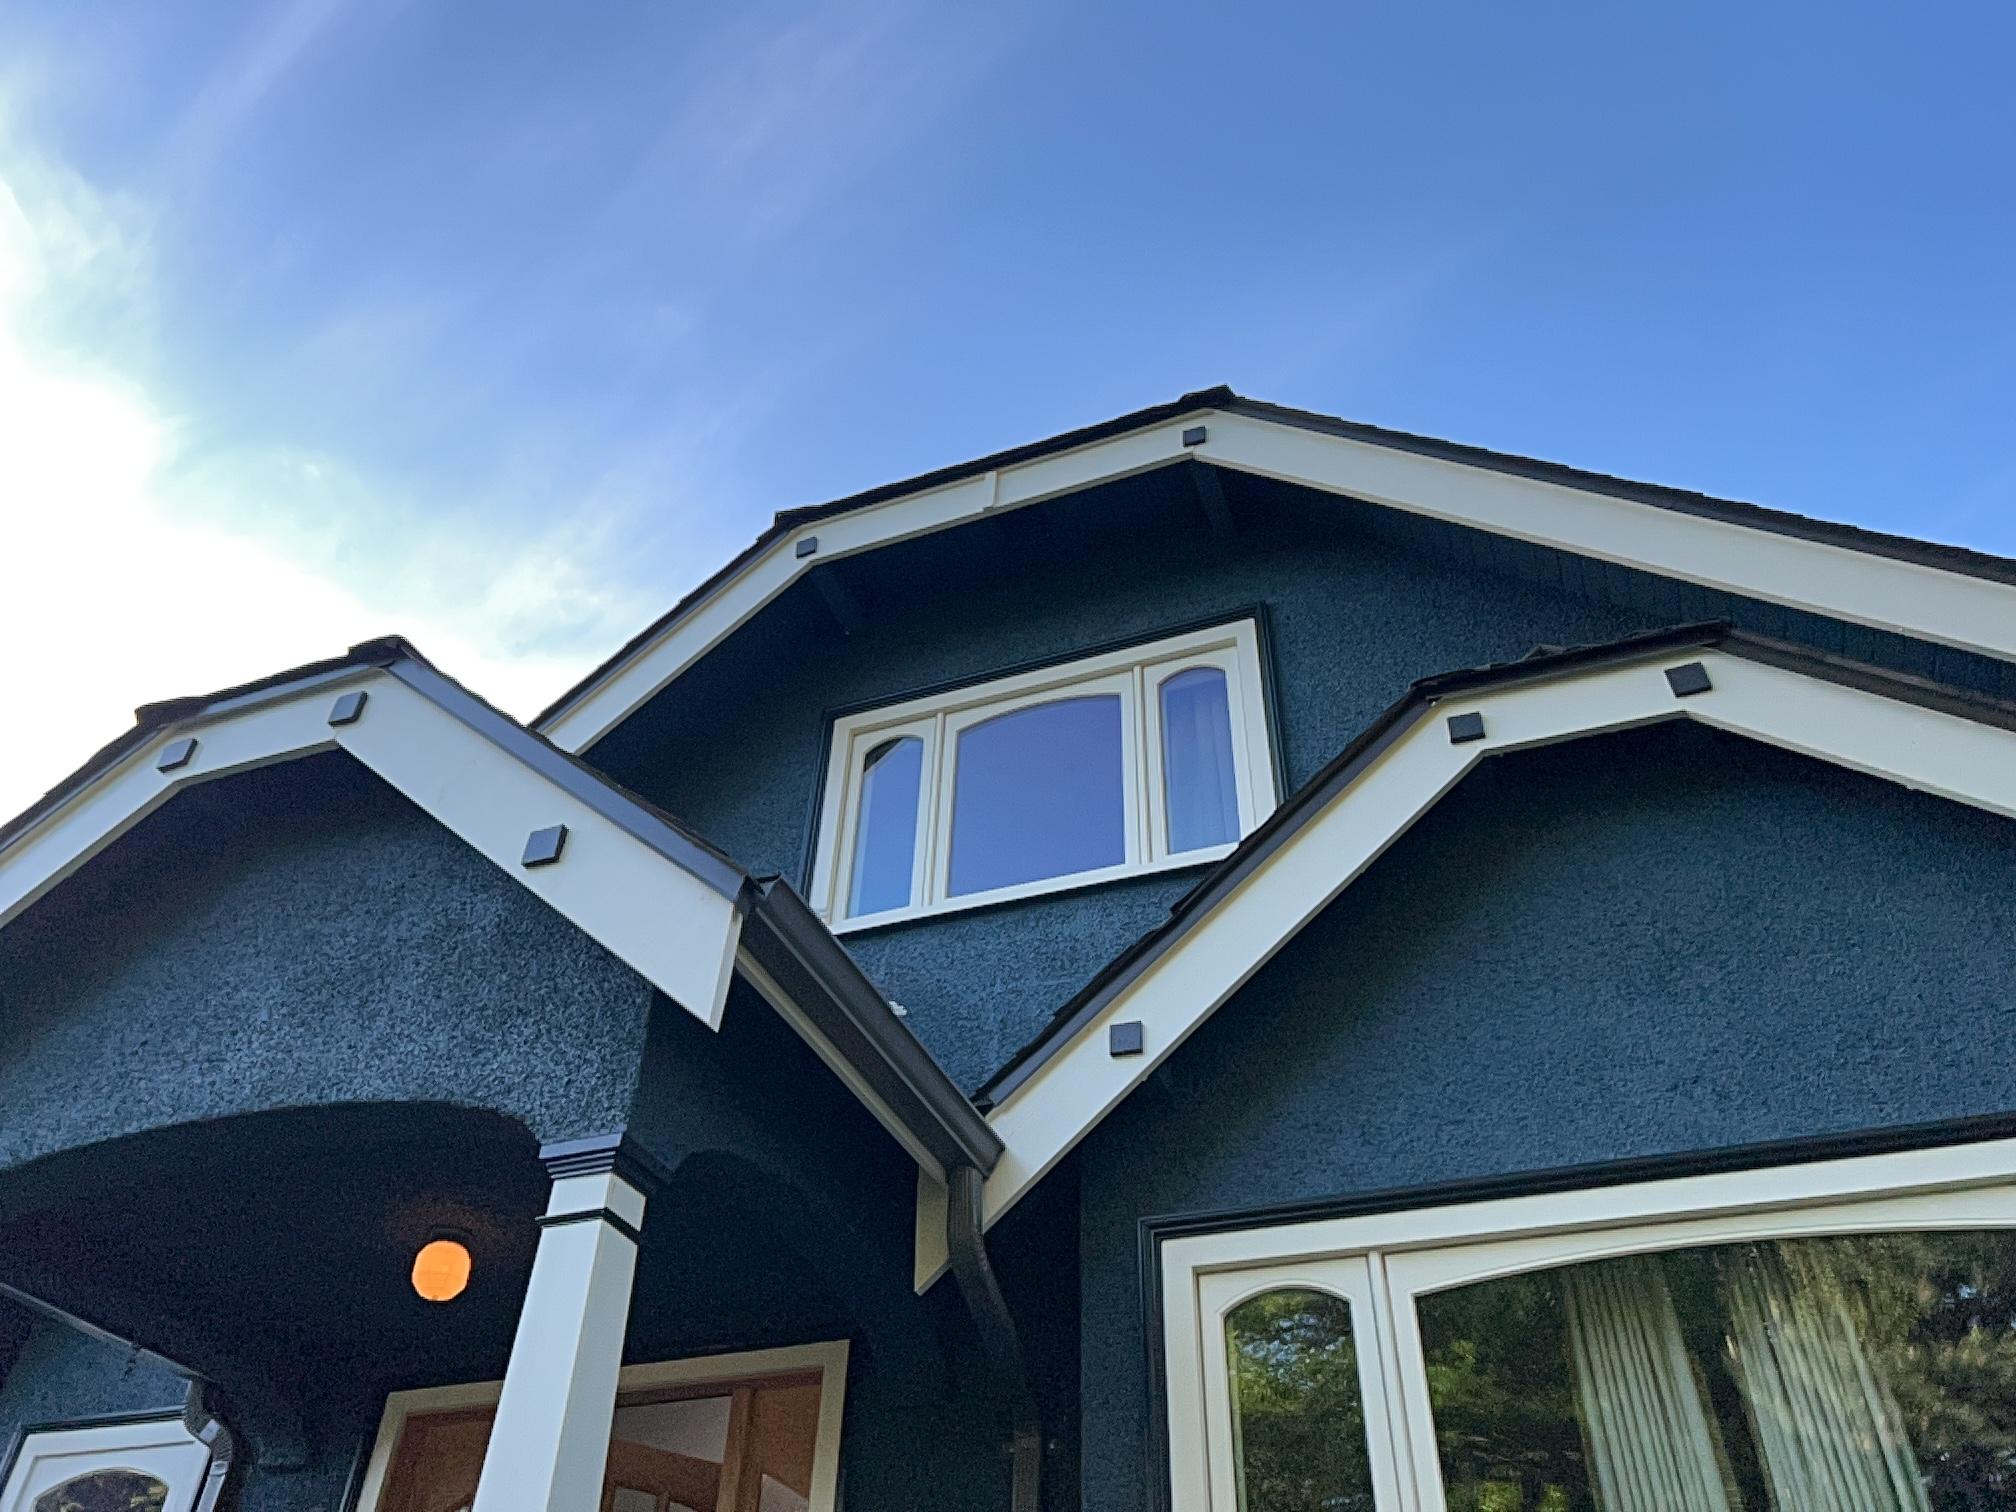
If there’s one thing we can’t stress enough, it’s the importance of proper surface prep, which is absolutely make-or-break for how long your exterior trim paint will hang in there. We always tell folks – don’t skip the pressure washing, because if you do, dirt, mildew, and old flaky paint just sit there under your new coat, and you’ll be lucky if it lasts three years (instead of five to seven). The prep grind means scraping off anything loose, sanding down the rough patches, priming any bare wood, and, if you’ve got trim that’s seen some water damage, you really need to let it dry out fully or you’re asking for trouble. From what we’ve seen, houses that get the full prep treatment keep their paint looking good about 40-50% longer, which is a pretty big deal. Caulking up any gaps and seams is another step you don’t want to skip, especially around window casings and door frames – water sneaking in there can bubble paint and rot wood faster than you’d think. Sure, it takes more time upfront, but in the long run, it’s worth it for the extra years you get out of your paint job.
Environmental Challenges Unique to Vancouver
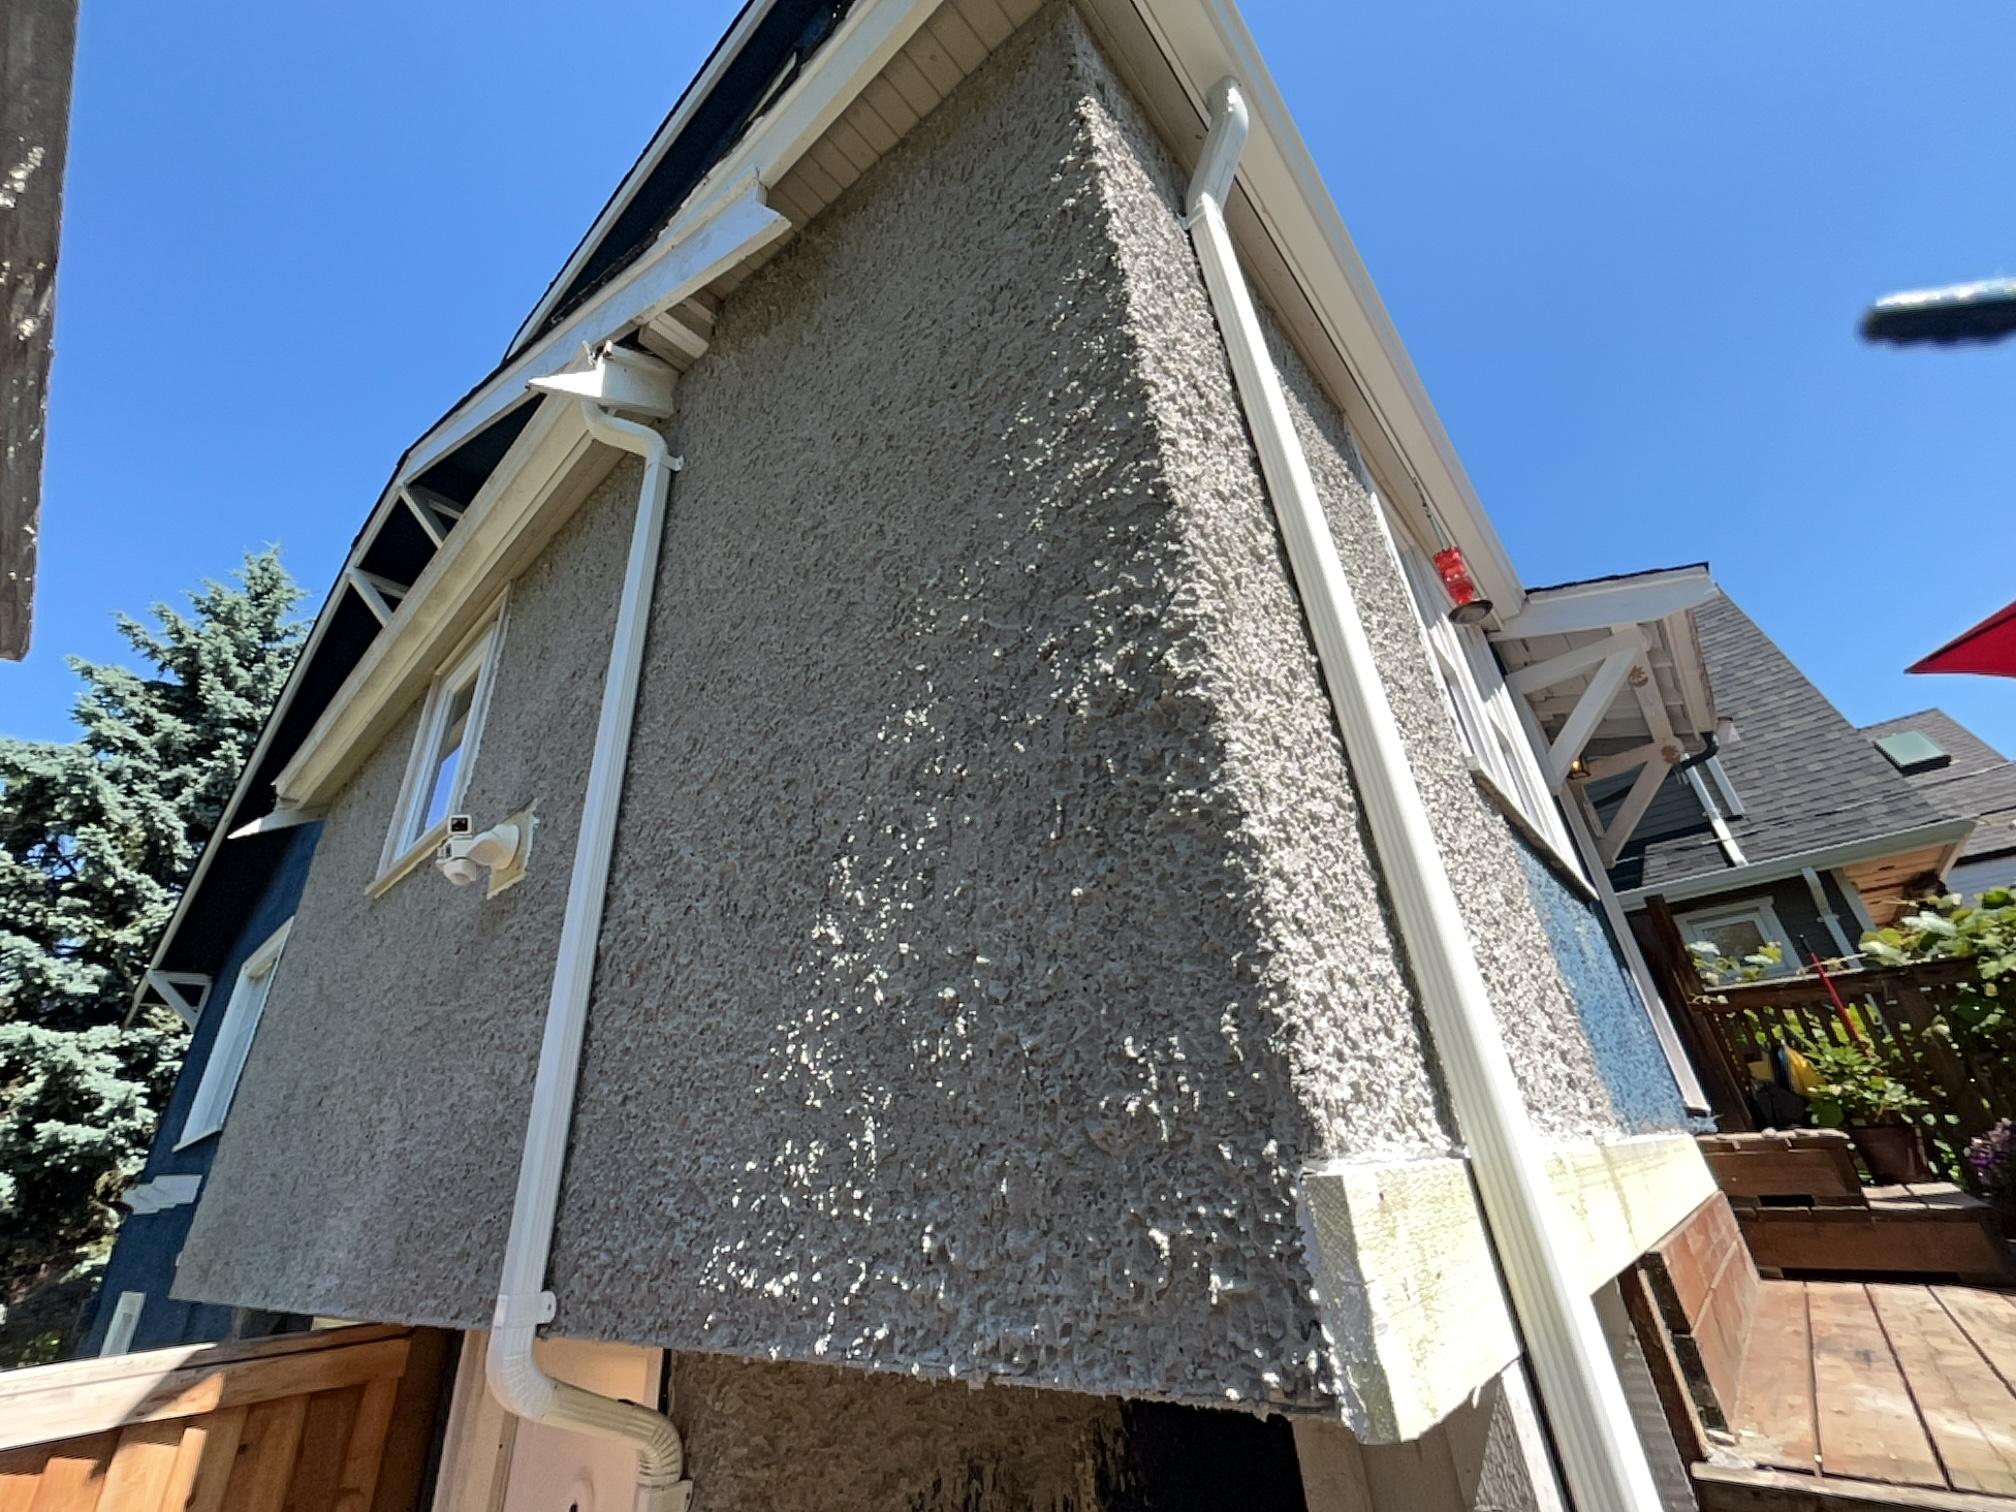
Living on the coast definitely comes with its own set of headaches when it comes to keeping exterior trim looking decent. Vancouver’s climate is a wild mix of rain, humidity, and salty air, which just eats away at paint way faster than in drier places. South and west-facing trim, in particular, gets hammered by UV rays over the summer – so you’ll see fading and that weird chalky look show up sooner than you might expect. The real enemy, though, is moisture. If your trim faces the rain, you’re probably looking at repainting every 4-6 years, but if it’s tucked away and protected, you might stretch that to 7-8. Homes close to the ocean (within about 5 km) have to deal with salt spray, which breaks down paint even quicker. Moss and mildew are a dead giveaway that too much moisture is sticking around, and we see this a lot on the north side of houses or anywhere that’s shaded by trees and doesn’t get much airflow.
Paint Types and Product Choices
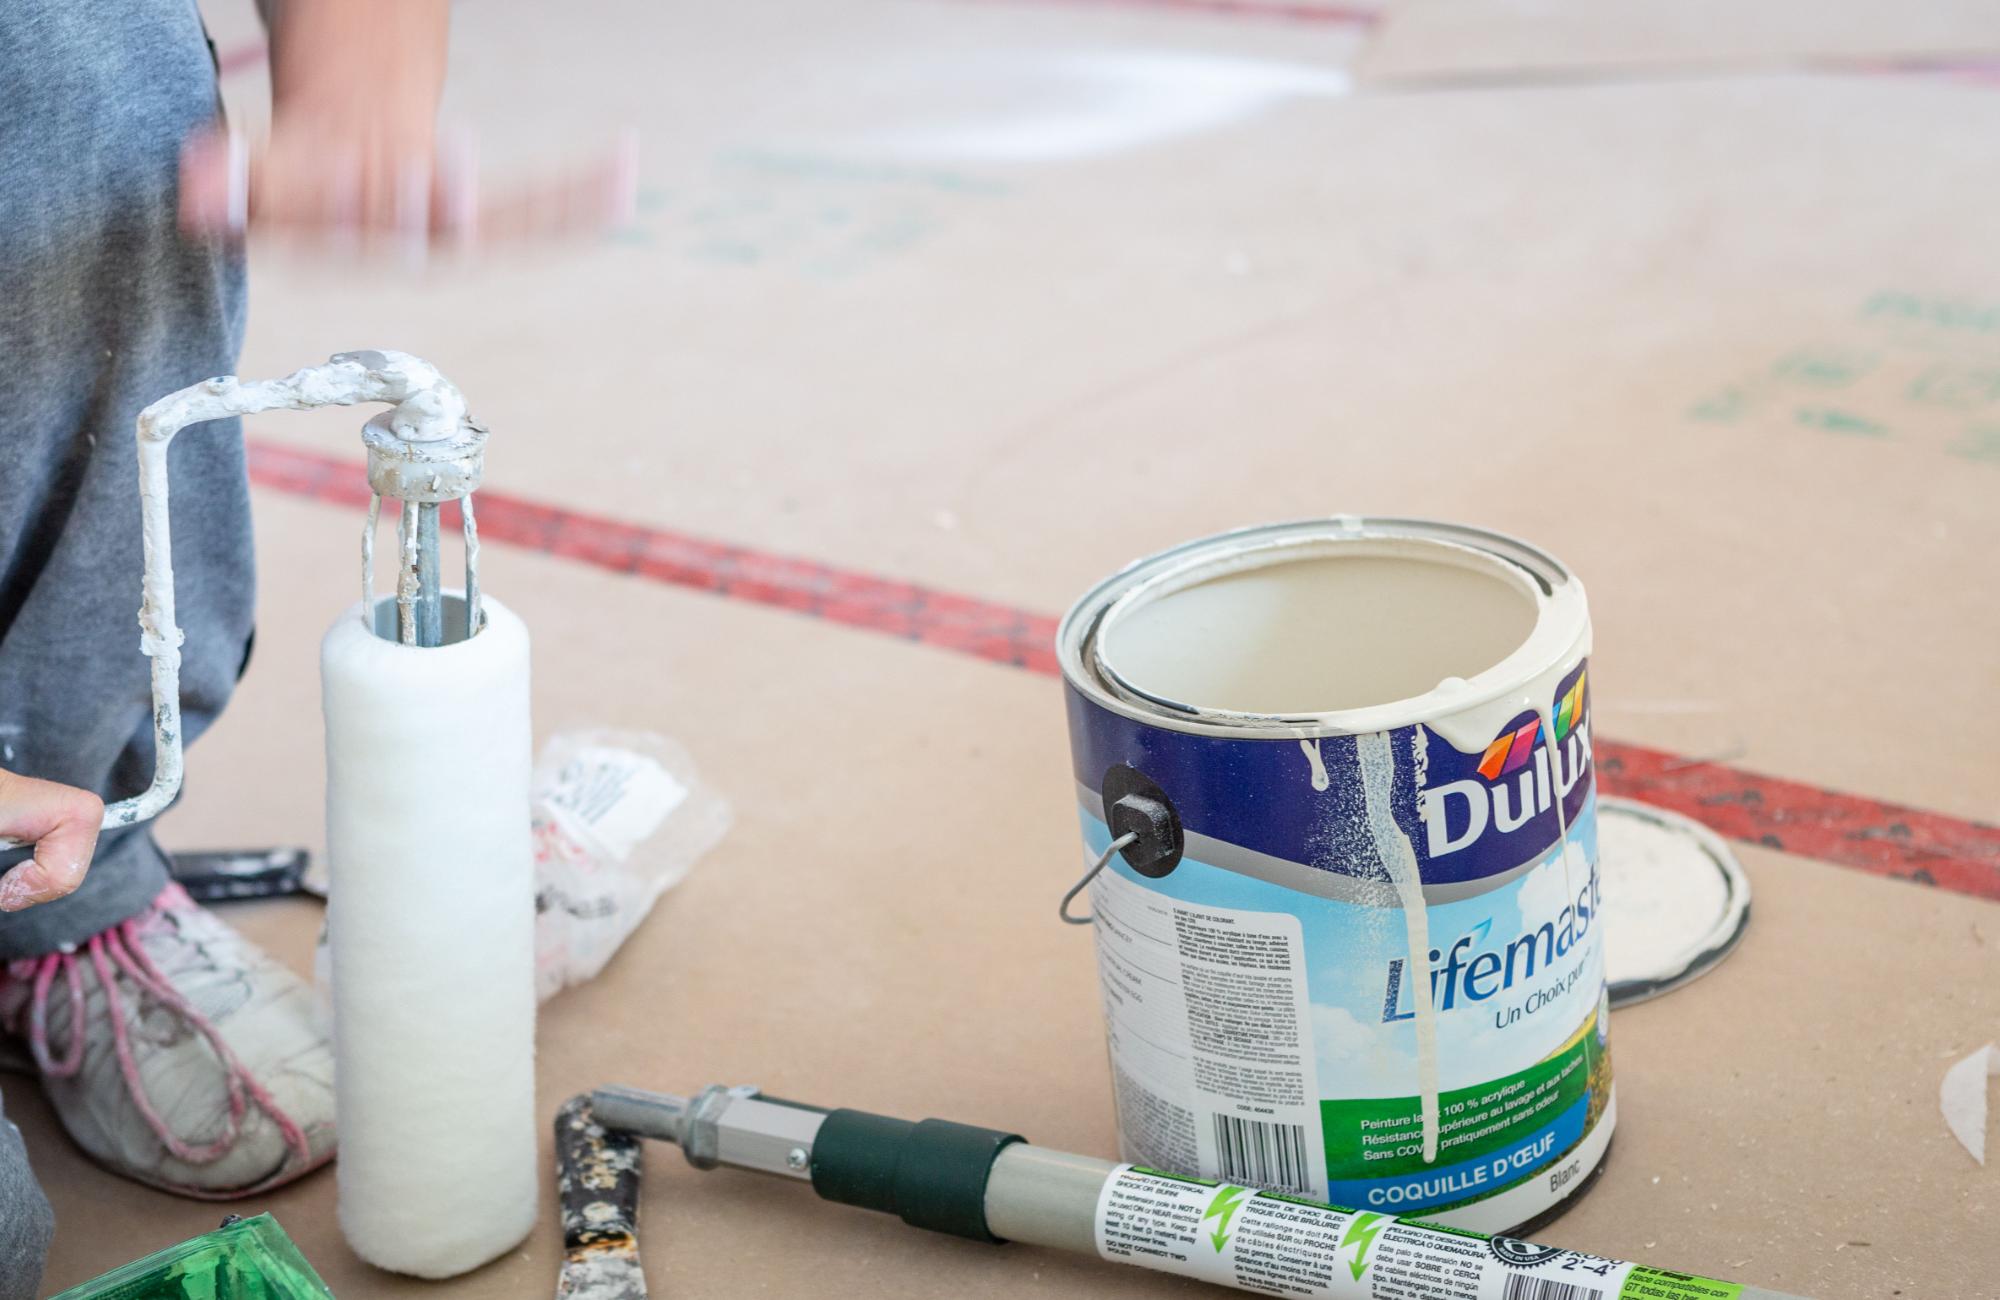
Not all paints are created equal – far from it, actually. Premium options like Benjamin Moore Aura Exterior or Sherwin-Williams Emerald have more resin and better UV blockers, so they tend to hold up for 7-10 years, while the cheaper, builder-grade stuff might only get you 4-6 years (and you’ll probably notice the difference). Here’s a quick look at what you can expect:
| Paint Quality | Expected Trim Lifespan | Cost Difference |
|---|---|---|
| Premium | 7-10 years | +40-60% |
| Mid-Grade | 5-7 years | +20-30% |
| Economy | 3-5 years | Base price |
Acrylic latex paints are the go-to for most folks because they’re flexible and handle moisture way better than old-school oil-based paints. That flexibility really matters when your wood trim is expanding and contracting all year long. Oh, and don’t forget about colour darker shades might look sharp at first, but they fade pretty fast and you’ll probably be touching them up more often than you’d like.
Signs That Indicate It’s Time to Repaint
Nothing says “time to repaint” like peeling paint. As soon as you see it lifting, water’s probably already sneaking underneath and making things worse, so it’s better to deal with it right away instead of waiting for the whole place to look rough. Chalking – when you swipe your hand and it comes away dusty – is another sign the paint’s lost its magic, and if the colours have faded more than you’d expect, it’s probably UV damage doing its thing. Don’t forget to check the caulking around joints; cracks there let water in and can cause all sorts of headaches. If you spot any soft or rotten spots in the wood, that’s a must-fix before you even think about painting, because new paint over damaged wood is just a waste of time and money.
Extending the Lifespan of Exterior Trim in Vancouver
If you want to stretch out the time between paint jobs (and who doesn’t?), it really comes down to regular maintenance, picking the right people for the job, and not cheaping out on materials. We’re all about practical steps that save you money and hassle down the line, even if it means a little more effort up front.
Proactive Maintenance and Inspection Schedules
One of the simplest ways to add a couple years to your paint job is just giving the exterior trim a good wash once a year. Nothing fancy – a hose or a soft brush will do the trick to knock off dirt and mildew before they can start breaking down the paint. It’s a small thing, but it really does add up. We also suggest taking a close look at your trim every spring and fall; check for cracks in the caulking, peeling at the corners, or any gaps that might let water sneak in. Catching little issues early can save you from a full repaint way sooner than you’d like. Pay extra attention to spots that get hammered by rain – under eaves, around downspouts, and those sun-blasted south walls tend to wear out the fastest. If you keep up with touch-ups in these areas, your main paint job will last a lot longer. Keep plants trimmed back at least 30 centimetres from the trim – branches and leaves just trap moisture and create the perfect conditions for mold and paint failure. More airflow means less trouble, plain and simple.
Selecting Reliable Painting Services
When you’re picking a contractor, make sure they’re serious about prep work in their quotes. Any decent painting service should spell out their plan for scraping, sanding, priming, and fixing things before they even think about breaking out the paint. Most of what makes a paint job last comes down to how well this part’s done. Don’t be shy about asking how much experience they have with Vancouver’s weather – painters who know the city’s rain and sun patterns will know which products and techniques actually work here. Ask for references from jobs they did five years ago or more; that’s the real test. Make sure they’re insured and covered by WorkSafe BC, too – no one wants a headache if something goes wrong. Checking online reviews and BBB ratings is always a good move before you commit. And get everything in writing: paint brands, number of coats, warranty details. It’s a hassle, but it saves a lot of “he said, she said” if something goes sideways later.
Protect Your Investment with Quality Materials
We’re big fans of Benjamin Moore Aura and other premium paints, honestly—they just have more of the good stuff in them (binders and pigments) that keep paint from fading or cracking, especially with Vancouver’s weather. Sure, you’ll pay more up front, but it’s not unusual to get another two or three years out of a good product, which is worth it in the long run. For most exterior trim, we recommend 100% acrylic latex paints they stay flexible and keep moisture out better than the old alkyd-based paints. Matching the paint to your actual trim material makes a surprising difference, too. Don’t forget about primers; they’re what help the paint really stick to bare wood and stop those annoying stains from knots or old water damage from bleeding through. Two thin coats always beat one thick one on trim – trust us. And finally, use a good, flexible, paintable exterior caulk on all the joints and seams. It’s the unsung hero that keeps water out and stops rot and peeling before they start. Replace old, cracked caulk during your regular maintenance instead of waiting for a big repaint—your future self will thank you.
Getting and Comparing Painting Quotes
We usually try to get at least three painting quotes before making any decisions, just to get a sense of what’s actually fair these days for exterior trim work—prices can be all over the place, honestly. The best estimates, in my experience, are the ones that lay out labour, materials, prep, and any repairs as separate line items; when a contractor’s upfront about every little thing, it’s way easier to spot anyone who might be skimping on prep or using cheap materials, which happens more than you’d think.
Rather than just eyeballing the total, it’s smarter to really dig into what’s included – sometimes that lowball quote looks tempting until you realize they’ve skipped primer or barely budgeted any time for prep, and then you’re repainting way sooner than you planned. We like to figure out the cost per year based on how long the paint’s supposed to last; it’s not a perfect science, but it helps put those numbers in perspective.
One thing we always push for is having contractors list out the actual paint brands and product lines in their written quotes. If all they say “premium exterior paint,” that’s a potential red flag. When they specify something like Benjamin Moore Aura or another high-end line, at least you know what you’re getting for your money (and you can double-check the price yourself if you want).
It’s also worth asking for quotes that break out trim painting separately from siding or other surfaces; you might only need the worst spots touched up, or maybe you’re thinking about phasing the project, and this makes it way easier to plan. Plus, when the pricing is clear and itemized, it’s a lot less awkward to negotiate changes or add-ons later without feeling like you’re getting nickel-and-dimed. Have questions about your trim? Let us know.